
Creating helpful lessons does not require expensive gear. With a clear plan, a simple microphone, and a clean screen setup, how to make tutorial videos with screen recording free becomes a practical skill anyone can learn. A screencast is simply a digital recording of what appears on a screen, often paired with narration, and it is commonly used for teaching, software walkthroughs, and step-by-step demonstrations. That makes it one of the easiest ways to explain a process without meeting in person or relying on complex video production.
This guide walks through the full process in a natural, beginner-friendly way: choosing a topic, preparing your screen, recording without distraction, polishing your video, and publishing it in a way that feels clear and trustworthy. Along the way, you will also find a few useful reading links from Business to Mark that fit this topic well, including a broader screen recording software guide and a practical tutorial on screenshot tools that also discusses video capture workflows.
Why tutorial videos matter more than long explanations
People learn quickly when they can see a task being done in real time. A good tutorial video can show where to click, what to type, and what result to expect without turning a simple process into a long block of text. That is one reason screencasts are used for teaching software, explaining workflows, and documenting repeatable tasks. They are also useful for support, onboarding, product demos, and internal training.
Written instructions still matter, but video often removes confusion. When a person can watch a cursor move across the screen, hear the explanation, and see the result immediately, they are less likely to get stuck. That is especially helpful for technical tasks, because visual learning reduces the need to guess what a button or menu item looks like. If the lesson is simple and the pacing is good, viewers often understand it the first time.
Tutorial videos also work well because they can be reused. A single recording can help many people at once, and it can keep helping later without repeating the same explanation again and again. For businesses, teachers, freelancers, and creators, that saves time and creates a more consistent learning experience. Business to Mark’s screen recording guide highlights exactly this point by showing how recordings support training, demonstrations, and reusable content.
Start with a clear goal before you record
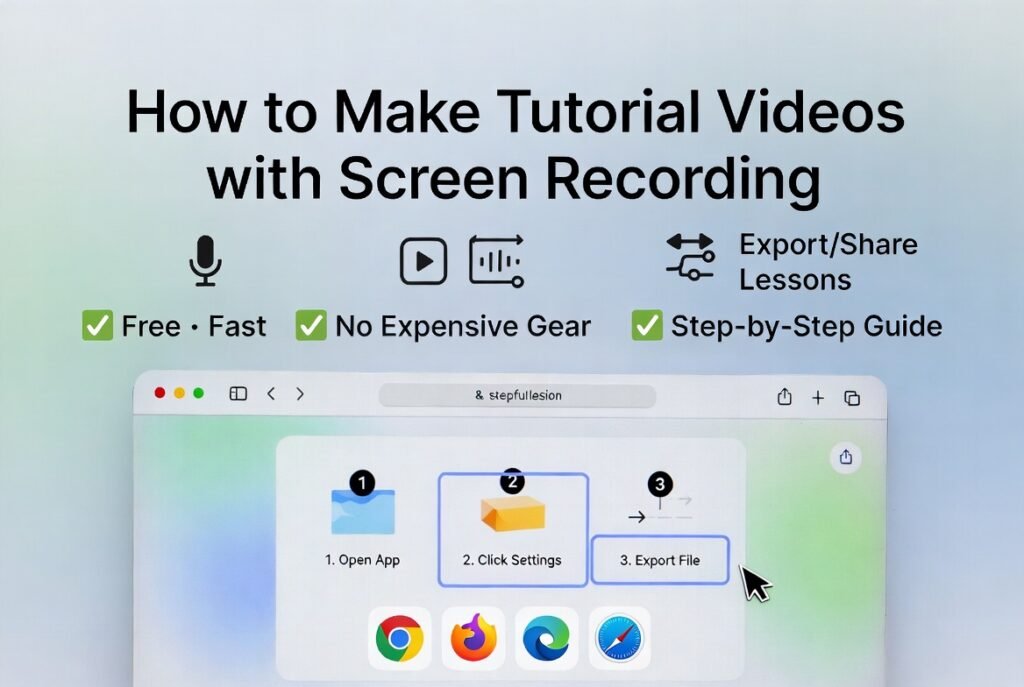
The easiest tutorial videos begin with one small objective. Do not try to teach everything in one recording. Instead, decide on a single result the viewer should achieve by the end. That might be “create a folder,” “edit a profile,” “export a file,” or “use a settings menu.” A narrow goal keeps the video short, focused, and easy to follow.
Once you know the goal, write a simple outline. You do not need a full script for every word, but you should know the order of the steps. For example, a good outline may include an opening line, three main actions, a quick recap, and a closing sentence. This keeps you from wandering off-topic while recording. It also helps you avoid mistakes like opening the wrong window or forgetting a final step.
A useful trick is to test the steps once before you hit record. This rehearsal gives you a chance to notice confusing clicks, slow-loading pages, hidden menus, or awkward transitions. If a step feels complicated when you are practicing, it will feel even more complicated to a viewer who is seeing it for the first time.
Keeping the tutorial narrow also helps with editing later. A focused recording is easier to trim, easier to explain, and easier to publish. It is better to make three short videos that each solve one problem than to create one long video that tries to solve ten problems at once. That approach is also easier for viewers to remember.
Choose a simple recording setup that feels comfortable
You do not need a studio. You need a stable computer, a decent microphone if you plan to speak, and a screen recording tool that works well enough for your device. Many operating systems include basic screen capture features, and free tools can also do a strong job for tutorials, especially when your goal is to explain a process rather than create a cinematic production. Business to Mark’s screen recording article points out that built-in options can handle basic capture, while free and open-source tools are useful for power users who want more control.
Before recording, clean your desktop. Close unrelated tabs, hide personal notifications, and move distracting icons out of view. A simple screen makes your explanation easier to follow and prevents accidental exposure of private information. This is especially important if you are recording a software workflow, a web dashboard, or a document with names or account details on it.
Sound matters just as much as picture quality. If your voice is clear, viewers will forgive a video that is not perfect. If your audio is weak or noisy, even a sharp screen recording can feel tiring to watch. Use a microphone that sounds clean enough for speech, and record in a quiet room when possible. If you are using a laptop mic, test it first and listen back for echo or background noise.
Also check your screen size and resolution. A cluttered interface or tiny text can make the lesson hard to follow. If the text on your screen is hard for you to read, it will be hard for the viewer too. Increase font sizes in the app you are demonstrating, zoom the browser if needed, and make sure the cursor is visible.
Set up the screen before you press record
Preparation saves time later. Open all the windows you need before recording begins, and arrange them in the order you plan to use them. If the tutorial includes a website login, sign in first so you are not wasting time on the recording screen. If the tutorial uses a document or spreadsheet, position it so the key areas are visible without scrolling constantly.
Try to remove anything that might interrupt the lesson. Turn off notifications, pause message alerts, and silence pop-ups if your system allows it. The cleaner the recording environment, the more confident the viewer will feel. A screen that jumps, flashes, or interrupts itself can make even a simple tutorial feel messy.
This is also the stage where you decide whether you need one screen or two. A second monitor can be helpful for notes, but it is not required. Many strong tutorial videos are recorded on a single screen with a clear layout and a short script. The more comfortable your setup feels, the easier it is to speak naturally.
If your recording tool supports it, do a short test clip. Record ten or fifteen seconds, then play it back. Check whether the mouse is visible, whether the audio is balanced, and whether the frame rate feels smooth enough. Fixing small issues before the real recording keeps the final video much cleaner.
Record in short sections instead of one long take
A common mistake is trying to make the whole video in one breath. That often leads to rambling, mistakes, and awkward pauses. A better approach is to record in sections. You can capture the intro in one take, the steps in another, and the closing message separately. This is one of the easiest ways to keep the video sharp and manageable.
At this stage, how to make tutorial videos with screen recording free is less about technology and more about discipline: record one idea at a time, speak slowly, and keep each clip focused on a single outcome. If you make a mistake, stop and restart the section rather than forcing the rest of the recording to carry the error.
Speak in plain language. Avoid long, technical sentences unless your viewers are already experts. Clear tutorial videos use short instructions like “click settings,” “choose export,” or “save the file.” These simple phrases are easier to follow and easier to remember. They also leave less room for confusion when people are trying to repeat the task on their own.
Move at a steady pace. People often need a moment to see where you clicked or what changed on the screen. Pausing for a second after an important action can make the video much more effective. That pause gives the viewer time to process the step before the next one begins.
Use your voice like a guide, not a lecture
A strong tutorial voice sounds calm, helpful, and natural. You are not performing for the camera; you are guiding someone through a task. Imagine sitting beside the viewer and explaining each click as you go. That simple mindset can improve the tone of the recording immediately.
Keep your sentences short enough to match the action on screen. If you are opening a menu, say the menu name first, then explain the next move. For example, “Open the file menu, then choose export.” That kind of sentence fits the pace of screen recording better than a long, formal explanation.
Do not worry about sounding perfect. A useful tutorial is not the same as a polished speech. Small pauses, light corrections, and natural phrasing often make the video feel more human. Viewers usually appreciate clarity over performance. They want to solve a problem, not watch a lecture.
If you misread a line or say the wrong label, you can usually pause and re-record that part later. Most recording tools allow simple trimming, so a short slip does not ruin the full project. The goal is not to speak like a broadcaster. The goal is to help another person finish a task without frustration.
Edit only what improves clarity
Editing is important, but it should support the lesson rather than overpower it. Start with the basics: trim dead space, remove mistakes, and shorten any long silence at the beginning or end. Then check whether the video flows smoothly from one step to the next. A simple cut can make the whole tutorial feel tighter and more professional.
If your tool includes annotations, use them carefully. Arrows, callouts, numbers, and highlights can be very helpful when the viewer needs to know exactly where to look. But too many visual effects can create clutter. Use the minimum number of marks needed to keep attention on the important part of the screen.
Keep transitions subtle. A tutorial video should feel steady, not flashy. The viewer should focus on the lesson, not on animated effects. Strong tutorials often rely on plain cuts, brief text labels, and clean zooms rather than dramatic transitions. That keeps the instruction clear and easy to trust.
If your recording includes a mistake that would confuse viewers, cut it out. If a section repeats the same idea too many times, shorten it. The best editing choice is usually the one that makes the process easier to understand without making the video feel artificial.
Add captions, labels, and useful visual cues
Captions can make a tutorial much more accessible. Some viewers watch without sound, while others may be in a noisy place or may prefer reading along. If you can add captions or on-screen text, the tutorial becomes easier to follow in more situations.
Use labels for important buttons, menu names, and tool names. A small label near the cursor or near a highlighted menu can prevent viewers from guessing. This is especially useful when the interface contains many similar icons or tabs. A good label can save several seconds of confusion.
Cursor emphasis is another simple improvement. If your recording software can highlight clicks or magnify the pointer slightly, the viewer can follow your actions more easily. This is helpful in menus, dashboards, and software settings where small details matter. Business to Mark’s screenshot guide also notes that video capture and annotation can be combined in a practical workflow, which is a useful reminder that screen recording and visual explanation often work best together.
Captions and labels are especially helpful for step-by-step learning. A viewer can glance at the screen, hear the narration, and read the key label at the same time. That three-part support makes the lesson easier to retain and reduces the chance of confusion.
Use the right file format and export settings
When the recording is finished, choose export settings that match the purpose of the video. A tutorial intended for web viewing usually works well in a common format that plays easily on most devices. The goal is not to create the largest file possible. The goal is to make a video that loads smoothly and remains clear enough to follow.
Pay attention to resolution and quality. Higher resolution can make text easier to read, but it also creates larger files. If the tutorial includes a lot of small interface text, higher quality may be worth it. If the lesson is simple and the screen is clean, a lighter file may be enough.
Test the exported video once before publishing. Make sure the sound is in sync, the image is not blurry, and the beginning and end have been trimmed properly. A quick review can save you from uploading a file that contains a mistake you would have spotted in seconds.
If you plan to reuse the video in multiple places, keep a master copy. Save the edited project and the exported file separately. That way, you can return later to make a shorter version, a vertical version, or a version with updated details. Good file organization matters more than people expect, especially once your tutorial library starts to grow.
Learn from related tutorial workflows
Sometimes the easiest way to improve a video is to study related capture styles. Business to Mark’s article on screenshot software shows how a capture tool can support both still images and video recording in a single workflow, which is useful when your tutorial needs a mix of screenshots and motion. It also explains why built-in tools are not always enough for more advanced documentation.
For a wider comparison of tool types, the site’s 2026 screen recording guide is a strong companion piece. It explains how screen recording software is used for training, demos, and reusable content, and it highlights the value of free tools, open-source tools, and professional solutions depending on your workflow. That broader context helps you choose the right setup before you record your first lesson.
If your work includes mobile content, the iPhone and QuickTime guide is helpful as well. It shows how screen capture can also support mobile recording and how audio settings matter when you want internal sound or narration. Even if your main project is desktop-based, that article is a reminder that good tutorial production often involves thinking about both picture and sound together.
For a broader definition of screencasts and why they are effective as instructional tools, Wikipedia’s screencast entry is a useful external reference. It describes screencasts as screen recordings commonly used for demonstrations and teaching, which fits the exact purpose of this article.
Keep the lesson short, direct, and complete
A good tutorial does not need to be long. It needs to be complete enough that the viewer can repeat the task after watching. That means including just enough context to explain the goal, enough detail to show the process, and enough closing guidance to help the viewer avoid common mistakes.
Start with a brief introduction. Tell the viewer what they will learn and what they need before they begin. Then move into the steps without delay. Once the process is complete, summarize the result in one or two lines so the viewer knows they have reached the correct outcome.
A short closing reminder can make a big difference. For example, you might mention a save step, a restart step, or a final check. These tiny details often prevent the viewer from having to watch the lesson again. Clear endings give the video a stronger sense of completion.
Do not keep adding extra content simply because the recording time feels short. A compact, useful tutorial is often stronger than a long one. People return to short tutorials more often because they are easier to scan, easier to replay, and easier to trust.
Make your tutorial feel human and easy to follow
Even when the process is technical, the tone can stay warm and simple. Viewers respond well to tutorials that sound like one person helping another person. That human feeling comes from plain language, steady pacing, and a lack of unnecessary complexity.
Use examples that make sense in everyday use. When possible, explain why a step matters, not just what the step is. For instance, a viewer is more likely to remember a setting change if they know it helps with clarity, privacy, or file size. Meaning gives the lesson more weight.
A helpful tutorial also respects the viewer’s attention. Do not rush through important parts. Do not assume people know where buttons are located. And do not overload the screen with too many moving elements at once. Simplicity is often the most respectful choice because it makes learning easier.
You can also make the lesson feel more human by speaking as though you are guiding one person rather than a large crowd. That small shift in tone often makes the video feel calmer and more approachable. Viewers tend to stay engaged when they feel the creator is speaking directly to their problem.
Avoid the most common beginner mistakes
One common mistake is recording without rehearsal. That usually leads to unnecessary pauses, forgotten steps, and awkward restarts. A short practice run solves most of that.
Another mistake is making the screen too busy. Too many tabs, notifications, and icons create visual noise. Keep the screen as clean as possible before you record. A tidy interface helps the viewer focus on the task instead of the environment.
A third mistake is using too much jargon. Even if your audience is somewhat technical, simple language usually works better in a tutorial. When a viewer is trying to complete a task, they need clarity more than cleverness. Plain words are easier to remember and less likely to confuse.
A final mistake is skipping the review stage. Always watch the recording before publishing. Even a short preview can reveal a bad cut, a missed word, or a sound issue. One careful review can improve the quality of the entire tutorial.
A simple workflow you can repeat again and again
Once you have made one tutorial successfully, the process becomes much easier to repeat. A repeatable workflow may look like this: choose one task, write a short outline, clean your screen, record in short sections, edit for clarity, review the result, and export the final file. That pattern keeps the process organized and consistent.
Over time, you can build a library of short tutorial videos. Each one can cover one task, one setting, or one question. This approach is especially useful for teachers, small businesses, support teams, and creators who want to explain practical steps without starting from zero each time.
As your workflow improves, you may begin to notice what your audience needs most. Some viewers may want shorter explanations. Others may prefer more visual labels. Some may need more audio guidance. The best part about tutorial creation is that it improves with feedback. Each video teaches you something about how to make the next one clearer.
That is why recording can become a strong communication habit rather than a one-time task. Once you learn the basics, you can use the same simple system for training, onboarding, software help, product demonstrations, and educational content.
Final thoughts
Tutorial videos work because they combine sight, sound, and structure in one useful package. They show a process in motion, explain each step naturally, and let the viewer learn at their own pace. With a little planning, a clean recording setup, and careful editing, you can make strong lessons without expensive software or complicated production work.
If you remember only a few things, remember these: keep the goal small, keep the screen clean, speak clearly, edit lightly, and review before publishing. That is the heart of effective screen-based teaching. The process is simple enough for beginners, yet flexible enough for ongoing content creation.