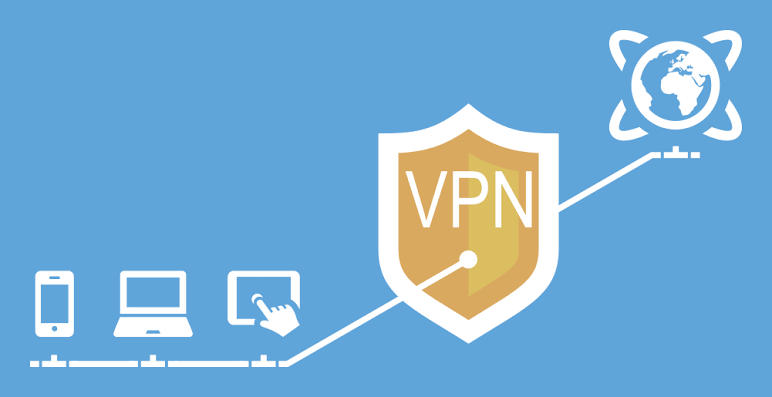
Our smartphones have become an integral part of our daily lives, serving as personal assistants, entertainment centers, and communication hubs. With all the sensitive information we store and access on our devices, it’s crucial to ensure our online activities are private and secure. Virtual Private Networks (VPNs) offer a solution by encrypting our web traffic and masking our online identities. But how do you set up a VPN on an Android device? In this article, we’ll walk you through the process step-by-step, so you can enjoy a safer and more private browsing experience.
Benefits of Using a VPN on Android
Using a VPN on your Android device offers several benefits. Firstly, it enhances your online privacy by encrypting your data and making it virtually impossible for anyone to intercept or monitor your internet activities. Secondly, a VPN allows you to bypass geo-restrictions and access region-locked content. Whether you want to stream your favorite shows or access websites that are not available in your country, a VPN can help you achieve that. Additionally, VPNs also protect you when connecting to public Wi-Fi networks, ensuring that your sensitive information remains secure.
Choosing a VPN Provider
Before setting up a VPN on your Android device, it’s crucial to choose a reliable VPN provider. Look for a provider that offers a strong encryption protocol, a wide range of server locations, and a no-logs policy. Read reviews and compare different providers to find the one that best suits your needs. Some popular VPN providers for Android include ExpressVPN, NordVPN, and Surfshark.
Setting Up a VPN on Android
Follow these step-by-step instructions to set up a VPN on your Android device:
Step 1: Selecting a VPN App
Go to the Google Play Store on your Android device and search for a VPN app. Choose one of the reputable VPN providers and install their app. You can also try VPN for free to get the best for your needs.
Step 2: Installing the VPN App
Once the app is downloaded, open it and follow the on-screen instructions to install it on your device. Grant any necessary permissions for the app to function properly.
Step 3: Creating an Account
Launch the VPN app and create an account if required. Most VPN providers offer both free and paid subscription options. Choose the one that suits your needs and create your account by providing the necessary details.
Step 4: Configuring VPN Settings
After creating your account, you will need to configure the VPN settings. This usually involves selecting a server location and choosing a protocol. Some VPN apps also provide additional options like split tunneling or a kill switch. Customize the settings according to your preferences.
Connecting to a VPN Server
Once the VPN settings are configured, you can connect to a VPN server. Open the VPN app and tap on the “Connect” button. The app will establish a secure connection with the server you selected, encrypting your internet traffic in the process.
Verifying VPN Connection