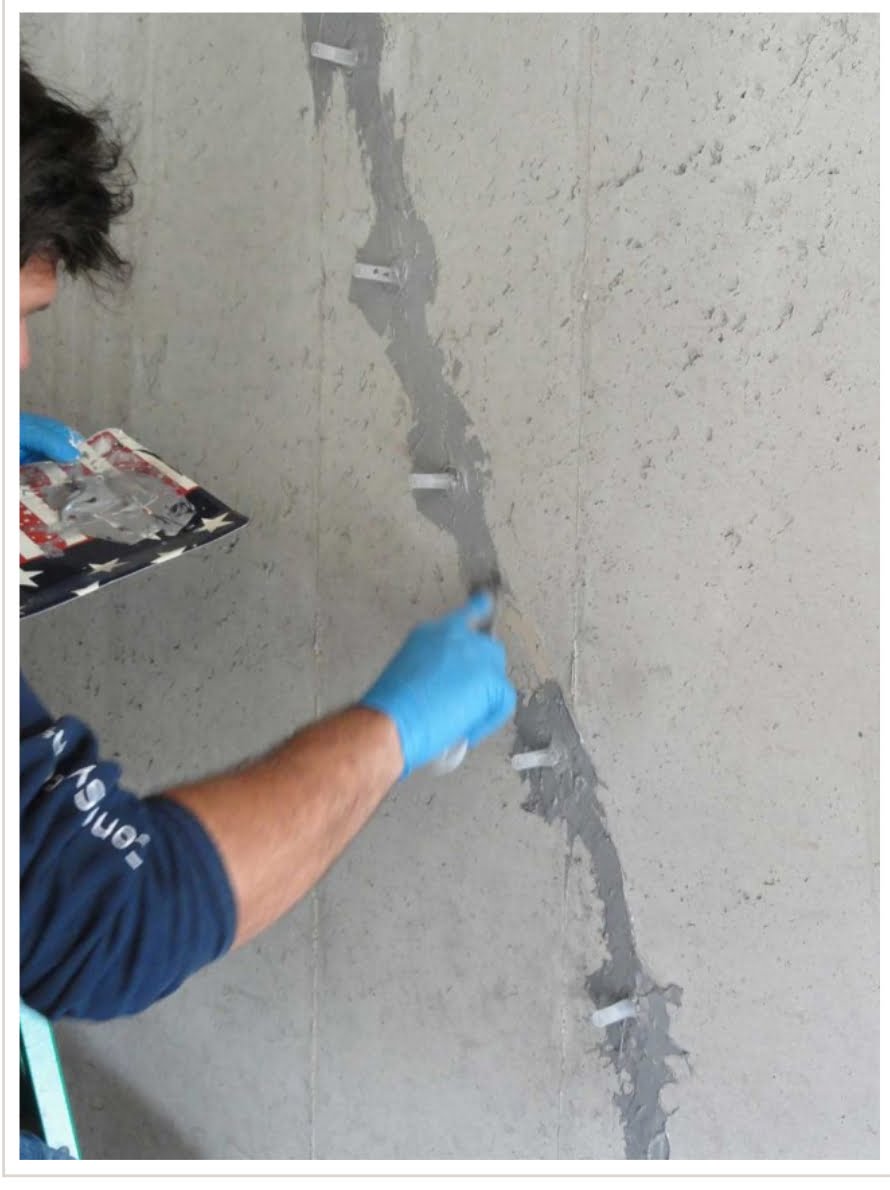
A foundation crack is a common problem faced by homeowners, and it can cause serious structural issues if not addressed properly. The causes of foundation cracks can vary, from settling and shifting of the soil to moisture and temperature changes. If left untreated, foundation cracks can lead to water infiltration, mold growth, and even structural failure. Fortunately, repairing foundation cracks is a relatively straightforward process that can be done by most homeowners. In this article, we’ll discuss how to repair foundation cracks and prevent them from reoccurring.
Identify the Type of Crack
The first step in foundation crack repair is to identify the type of crack. There are three main types of cracks: vertical, horizontal, and diagonal.
Vertical cracks are the most common type of crack and are typically caused by settling or shrinkage of the concrete. These cracks are usually not a cause for concern unless they are wider than 1/8 inch.
Horizontal cracks are more serious and are usually caused by hydrostatic pressure or soil movement. These cracks can allow water to enter the foundation and should be addressed immediately.
Diagonal cracks are the most serious type of crack and are usually caused by structural problems. These cracks can indicate that the foundation is shifting or settling and should be inspected by a professional.
Clean the Crack
Once you have identified the type of crack, the next step is to clean the crack. This will ensure that the repair material bonds properly with the concrete.
Start by using a wire brush to remove any loose debris or concrete fragments from the crack. Then, use a vacuum or compressed air to remove any remaining dust or debris. Finally, use a damp cloth to clean the crack and remove any remaining dirt or debris.
Fill the Crack
After cleaning the crack, the next step is to fill it. There are several different types of fillers that can be used to fill foundation cracks, including epoxy, polyurethane, and hydraulic cement.