Introduction
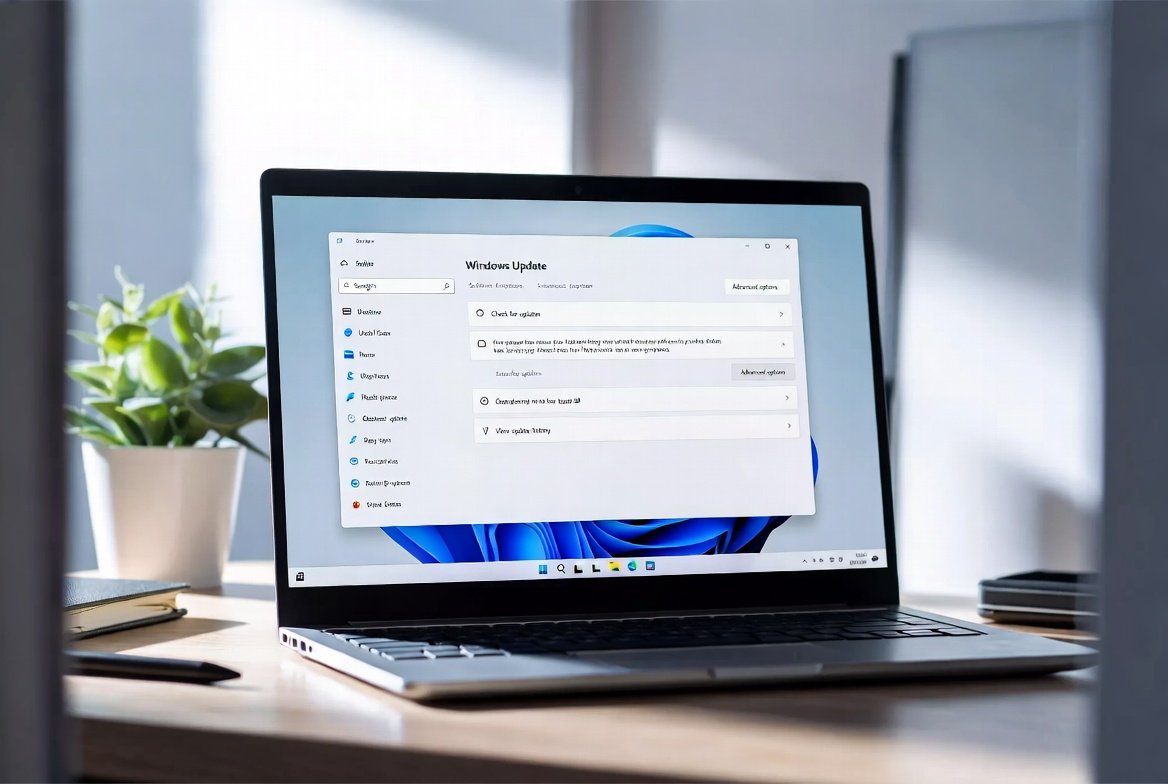
Operating system updates are the lifeblood of a secure, high-performing computer. For users running Microsoft’s flagship operating system, keeping the platform current ensures access to the latest security patches, performance enhancements, and user interface features. However, millions of users frequently encounter frustrating roadblocks when an upgrade stalls out, throws an unhelpful error code, or loops endlessly on a loading screen. Learning how to fix Windows 11 update quickly can save you hours of technical frustration and protect your device from vulnerabilities.
Whether you are dealing with a frozen download progress bar, a cryptic hexadecimal error code like 0x80070002, or an installation failure that rolls back changes at the last second, this comprehensive guide will walk you through everything you need to know. We will explore beginner-friendly built-in tools, advanced command-line interventions, real-world troubleshooting scenarios, and expert tips to ensure your system runs smoothly.
Why Do Windows 11 Updates Fail?
Before diving into solutions, it helps to understand why updates fail in the first place. Windows updates are complex packages containing thousands of individual system files, driver updates, and registry modifications. If anything interrupts this delicate ecosystem, the entire process can abort.
Common culprits behind update failures include:
-
Corrupted Software Distribution Cache: Temporary files downloaded during the update process can become corrupted or incomplete.
-
Insufficient Disk Space: Major feature updates require substantial free storage on your primary drive (typically 20GB or more).
-
Third-Party Antivirus Interference: Aggressive security software can mistake update routines for malicious behavior and block them.
-
Outdated or Incompatible Drivers: Hardware drivers that conflict with the new operating system build can cause stop errors or installation rollbacks.
-
Incorrect Date and Time Settings: SSL certificates rely on accurate timestamps; if your clock is off, secure communication with Microsoft servers fails.
Step 1: Use the Built-In Windows Update Troubleshooter
When you want to fix Windows 11 update issues without digging into complex system settings, the automated diagnostic tool built into the operating system should be your first port of call. Microsoft designs this utility to automatically detect and repair common misconfigurations.
How to Run the Troubleshooter:
-
Press the Windows Key + I to open the Settings app.
-
Navigate to System on the left menu, then click on Troubleshoot on the right.
-
Select Other troubleshooters.
-
Locate Windows Update in the list and click the Run button next to it.
-
Follow any on-screen prompts and let the utility complete its diagnostic scan, then restart your PC.
Expert Tip: If the standard settings menu troubleshooter does not resolve your issue, open the Get Help app pre-installed in Windows 11 and search for “windows update troubleshooter” for an expanded diagnostic routine.
Step 2: Clear and Reset the Windows Update Cache
If the automatic troubleshooter fails, the underlying update cache files are often heavily corrupted. Clearing out these temporary holding folders forces Windows to download a fresh, uncorrupted copy of the update files.
Step-by-Step Cache Reset Guide:
-
Click the Start menu, type cmd, right-click on Command Prompt, and select Run as administrator.
-
Stop the core background services responsible for updates by typing the following commands one by one, pressing Enter after each:
-
net stop wuauserv
-
net stop cryptSvc
-
net stop bits
-
net stop msiserver
-
Open File Explorer and navigate to C:\Windows\SoftwareDistribution. Select all files and folders inside this directory and delete them. (Don’t worry, Windows will automatically recreate clean folders when needed).
-
Return to your Administrator Command Prompt window and restart the services by typing:
-
net start wuauserv
-
net start cryptSvc
-
net start bits
net start msiserver
Restart your computer and attempt to check for updates again.
For enthusiasts configuring complex multi-display hardware layouts or managing external peripherals for workflows like mobile triple screen setup simracing, clearing this cache ensures that peripheral driver hooks don’t conflict with core OS package deployment.
Step 3: Repair Corrupt System Files with DISM and SFC
Sometimes, missing or damaged core system files prevent updates from integrating properly. Windows includes two powerful command-line tools—DISM (Deployment Image Servicing and Management) and SFC (System File Checker)—to scan and repair these foundational elements.
Running the Repair Sequence:
-
Open Command Prompt as administrator.
-
Type the following DISM command to repair the system image and press Enter:
DISM.exe /Online /Cleanup-image /Restorehealth
-
Wait for the process to reach 100% (this may take 10–15 minutes depending on your drive speed).
-
Once completed, type the System File Checker command and press Enter:
sfc /scannow
-
Let the scan finish, review the results to see if corrupted files were successfully repaired, and restart your PC.
Step 4: Free Up Essential Storage Space
A lack of storage capacity is one of the leading silent killers of major system upgrades. If your OS drive is packed to the brim, the installation engine cannot unpack temporary installation files.
| Storage Metric |
Recommendation |
| Minimum Required Free Space |
At least 20 GB of free space on your C: drive |
| Optimal Buffer Zone |
15% to 20% total drive capacity free for optimal swap file management |
| Quick Cleanup Method |
Use Settings > System > Storage > Temporary files to purge old installation logs and cache |
If your primary drive is near capacity, consider offloading large media libraries to external storage or cloud services before attempting to fix Windows 11 update blockages.
Step 5: Disconnect External Hardware and Peripherals
Unexplained update errors can sometimes be traced back to connected hardware accessories—such as external docking stations, specialized USB game controllers, secondary storage drives, or older printers. If Windows attempts to look for drivers for these devices during a core system upgrade and encounters a timeout, the whole update sequence can fail.
-
Actionable Advice: Disconnect all non-essential peripherals (keep only your basic mouse, keyboard, and primary monitor connected) before initiating the update process. Once the update successfully completes and your system restarts, you can safely plug your hardware back in.
Comparing Update Methods: Automatic vs. Manual Installation
When standard settings fail, users generally have two distinct pathways to get their machines up to date. Understanding the benefits and drawbacks of each approach helps you choose the right strategy.
1. The Windows Update Assistant
-
Benefits: Retains all your personal files, installed applications, and user settings while forcing a direct upgrade to the newest build version.
-
Drawbacks: Can take a significant amount of time to download and process; if underlying hardware blocks exist, it may fail at the final transition phase.
2. Clean Installation via ISO Media
-
Benefits: Completely wipes away persistent corruption, delivering peak system performance and a completely fresh environment.
-
Drawbacks: Requires backing up all personal data, reinstalling applications, and reconfiguring custom user preferences from scratch.
Frequently Asked Questions
Why does my update keep rolling back at 96%?
An update rollback usually indicates that a third-party driver, security software, or corrupted boot file rejected the final configuration phase. Running the DISM tool and temporarily disabling third-party antivirus utilities typically resolves this pattern.
Will I lose my files if I use the manual update assistant?
No. Official tools provided by Microsoft are designed to preserve your personal documents, photos, and installed programs. However, maintaining a regular external backup is always a best practice before modifying core system software.
How long should a normal Windows 11 update take?
Depending on your internet connection speed and whether you are installing a monthly cumulative patch or a major annual feature upgrade, the process can take anywhere from 10 minutes to over an hour.
Conclusion
Encountering installation roadblocks can be deeply frustrating, but knowing how to systematically fix Windows 11 update problems empowers you to take control of your device’s health. By walking through these structured solutions—starting with the automated troubleshooter, clearing out cache debris, repairing system files with DISM, and clearing out unnecessary disk space—you can overcome almost any software hurdle.
Actionable Takeaways:
-
Always ensure you have at least 20GB of free space before launching major upgrades.
-
Keep your critical device drivers updated from official manufacturer websites.
-
Do not hesitate to use manual assistant tools directly from Microsoft if the system settings menu stalls out.

:max_bytes(150000):strip_icc():focal(749x0:751x2):format(webp)/ava-gillies-makeup-artist-instagram-080426-acd91268f69c4dcaab27c8a7e502098b.jpg?w=140&resize=140,110&ssl=1 "Ava Gillies Car Accident – ‘Barbie’ & ‘Bridgerton’ Makeup Artist Dies at 26")